Exercise/Worksheet #1
For this exercise, the class had to restore a broken picture of three children and make it look brand new. As you can see, the picture is obviously changed. Before (left), After (right).
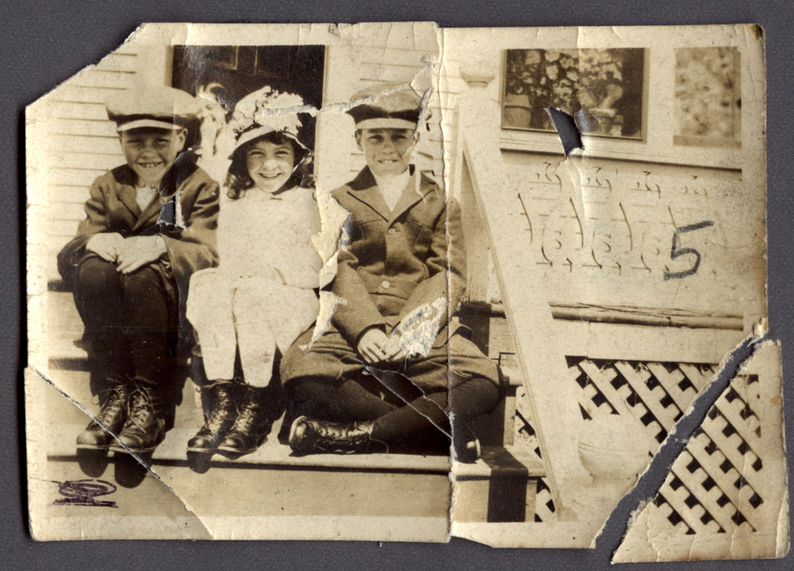
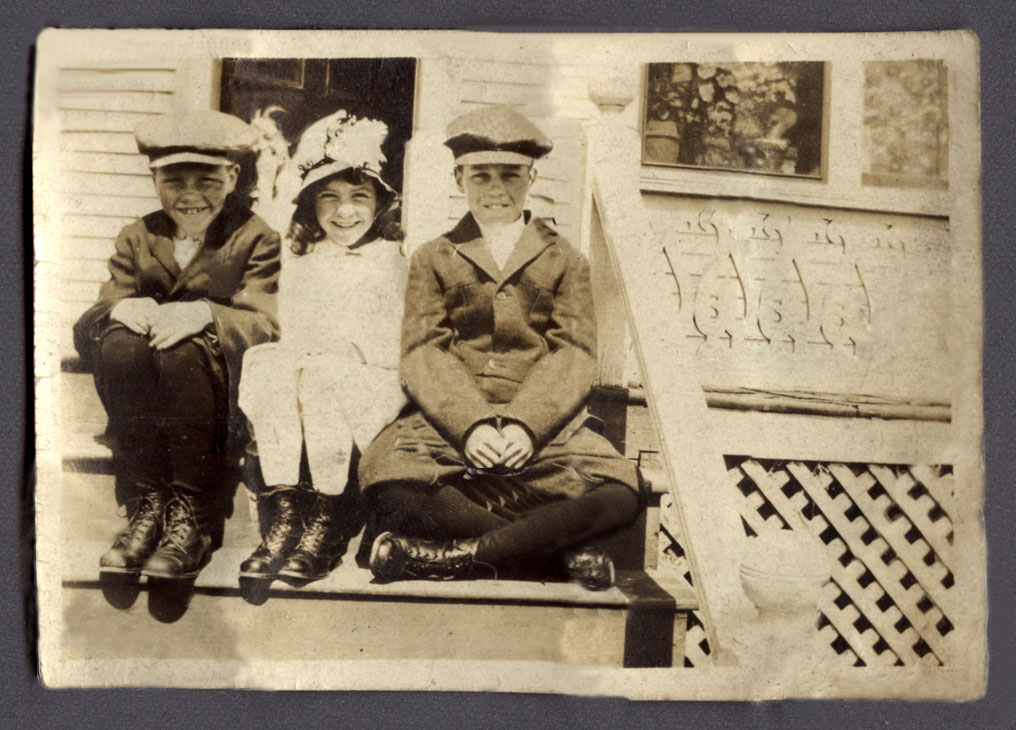
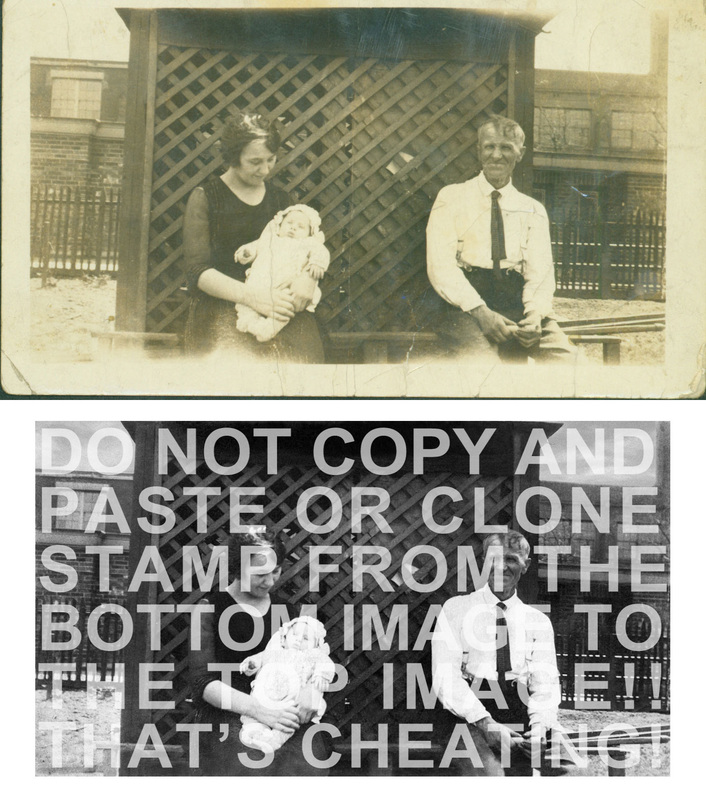
Exercise/Worksheet #2
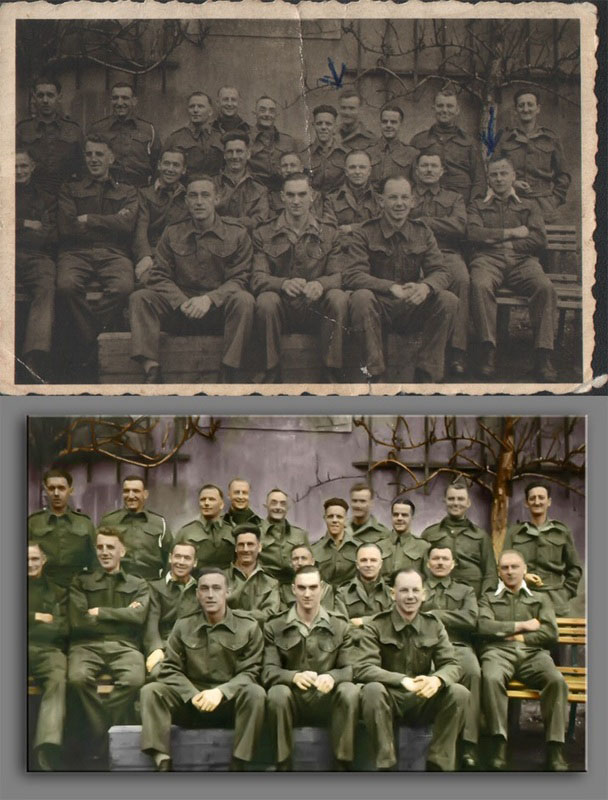
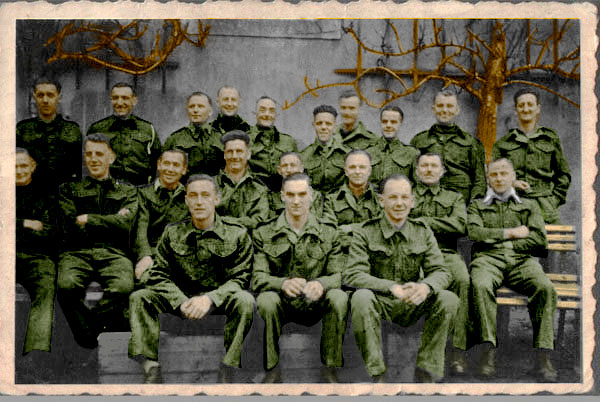
In this exercise, we had to use our resources (google, bing, etc.) and we had to change/restore a black and white photo that was almost half broken off. Students had to use their imaginations to help fix the bottom picture without copying and paste-ing from the top, color picture. Before (left), After (right).
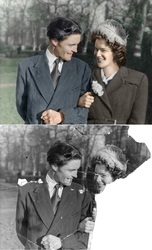
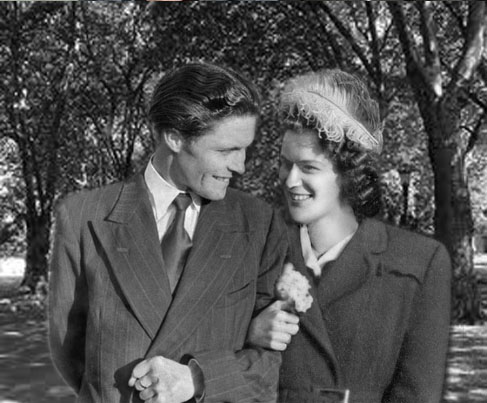
Exercise/worksheet #3
As you can see, for this exercise, the class had to restore a faded picture back to its original colors. To achieve this, students had to use new tools/sections in Adobe Photoshop that were unknown to them, such as the lasso tool, the layers tab, and the pint brush tools, plus multiple coloring tools. Before (left), After (right).
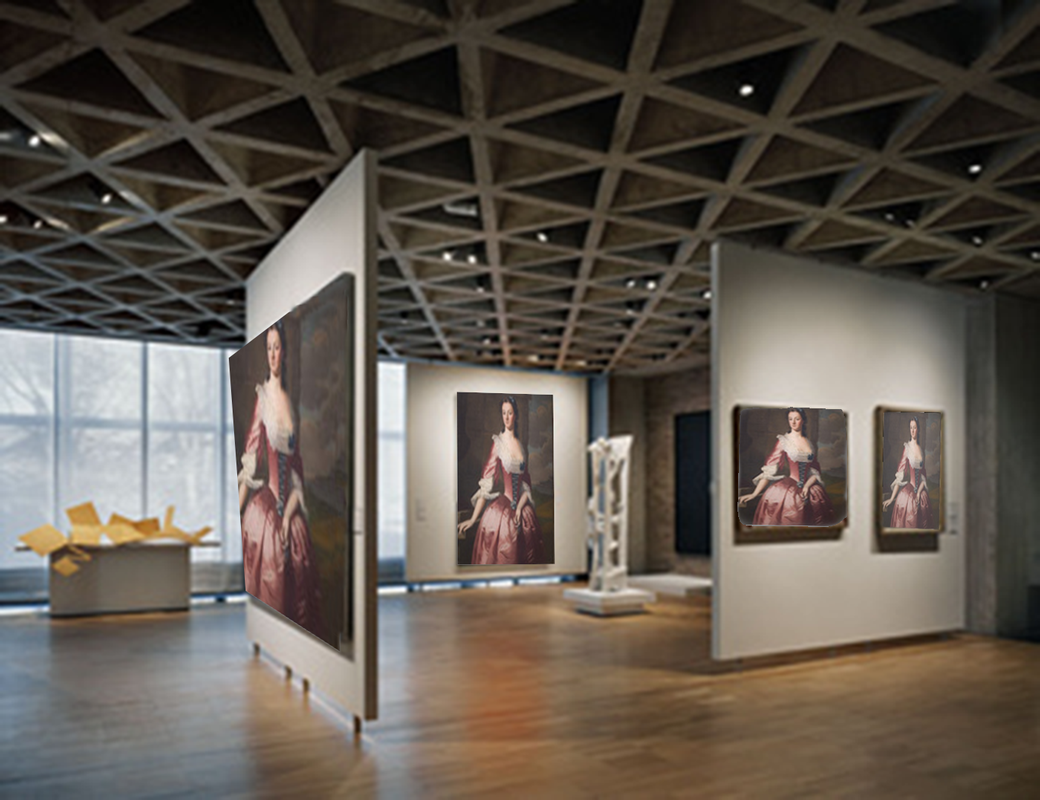
Exercise/worksheet #4
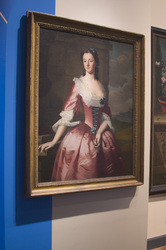
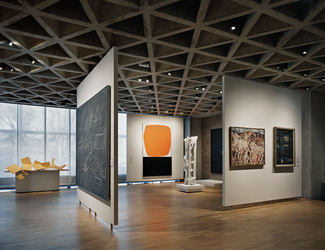
In this worksheet, Mr. Yutkin's class had to take the image/painting of the lady in the pink dress (left) and had to paste the painting on all the other paintings in the art gallery (center) to look like it was the only picture in the gallery. To do this, students had to explore the 3D or 3 Dimensional tab in Adobe Photoshop. Finished product (right).


Exercise/worksheet #5
During this exercise we had to take a damaged baseball card and transform it to look brand-new by using the cloning and paint tools. Before (left), After (right).
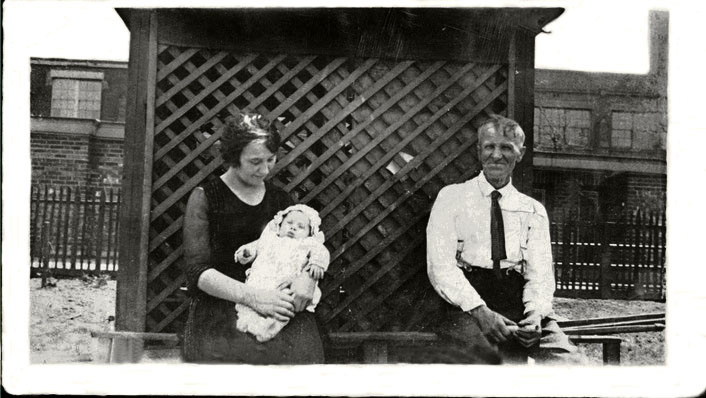
Exercise/worksheet #6
For this worksheet, our class had to take an old faded picture of a family and restore it to its original black and white color using color tools in Adobe Photoshop such as black and white, brightness and contrast, and color balance. Before (left), After (right).
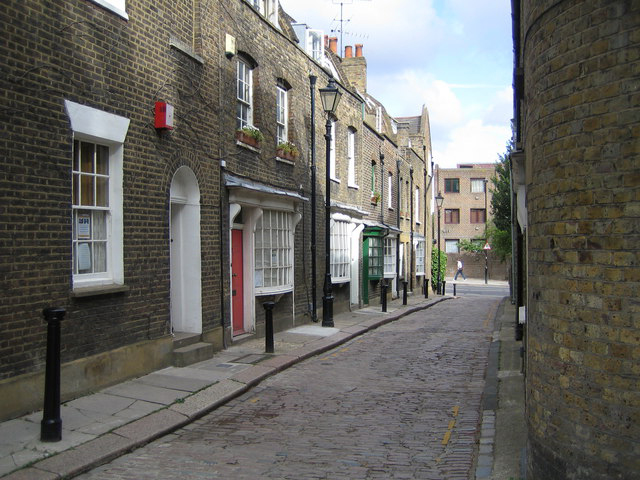
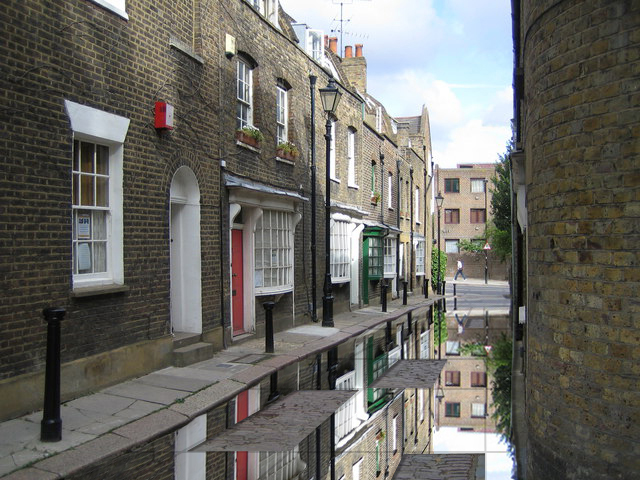
Exercise/worksheet #7
In this worksheet, I had to take a regular picture of a street and make it a mirror of the buildings above it and take pieces out to make it look like an actual mirror with piece cut out. Also, i added a drop shadow on the mirror image to make it look as if it was above the actual street. Before (left), After (right).
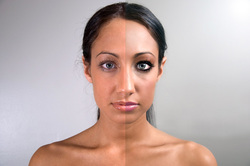
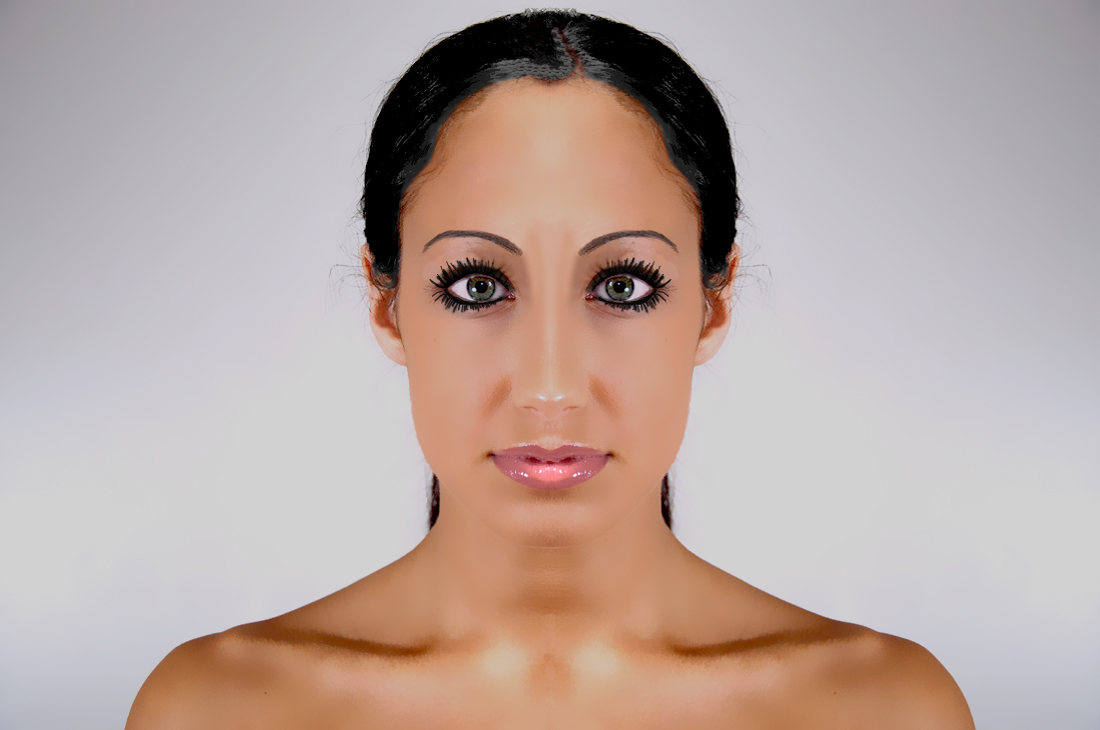
Exercise/worksheet #8
In this exercise, Mr. Yutkin's class had to use the brush, blur, and opacity tools to make this girl's make-up and face features look more then they really are. This worksheet took the longest time out of all because of the amount of layers and the fact that the brushes used had to be very small. Before (left), After (right).

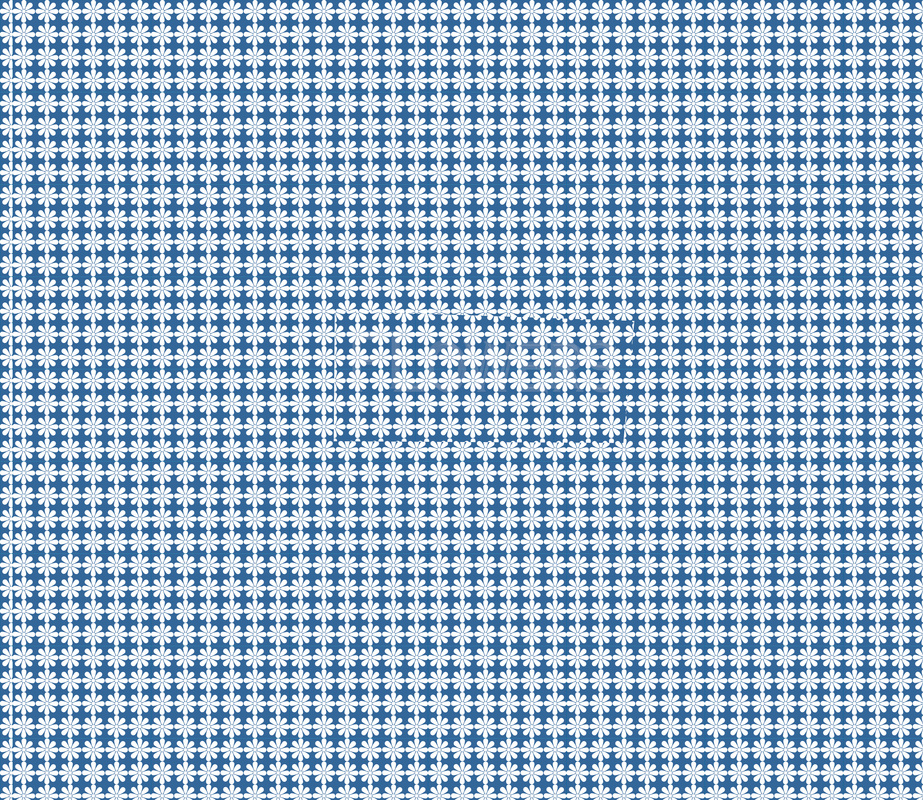
Exercise/worksheet #9
For this worksheet, I had to take a regular pattern, (left) and duplicate the bottom pattern. This would help you to see a hidden image, or word(s). My Magic Eye image (right) is a bunch of white flowers on a blue background. Try to find the hidden word.
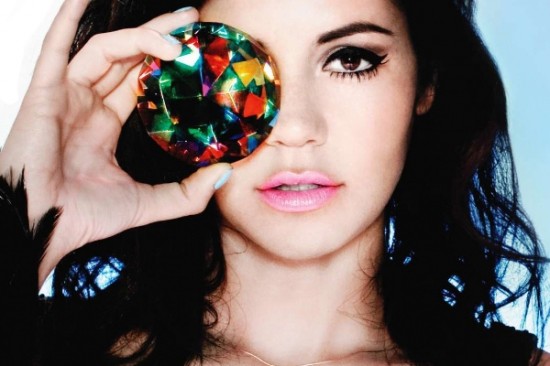
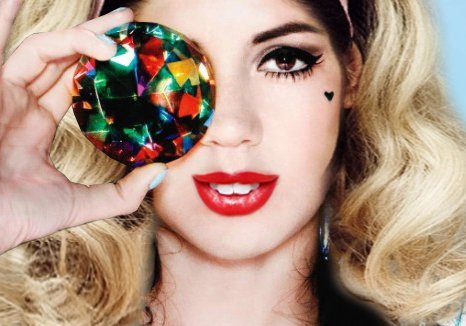
Exercise/worksheet #10
For this exercise, our class had to take a picture of a person, mine is a picture of Marina from Marina and the Diamonds (left). What i did to this picture is that i took a blonde-haired picture of her that is the most recent and i add just the hair and the small heart tattoo. Also, from another picture i took the lips and i put them on Marina's face. This is end result. (right)
